Tag Archives: onion

Zucchini and Fennel Soup

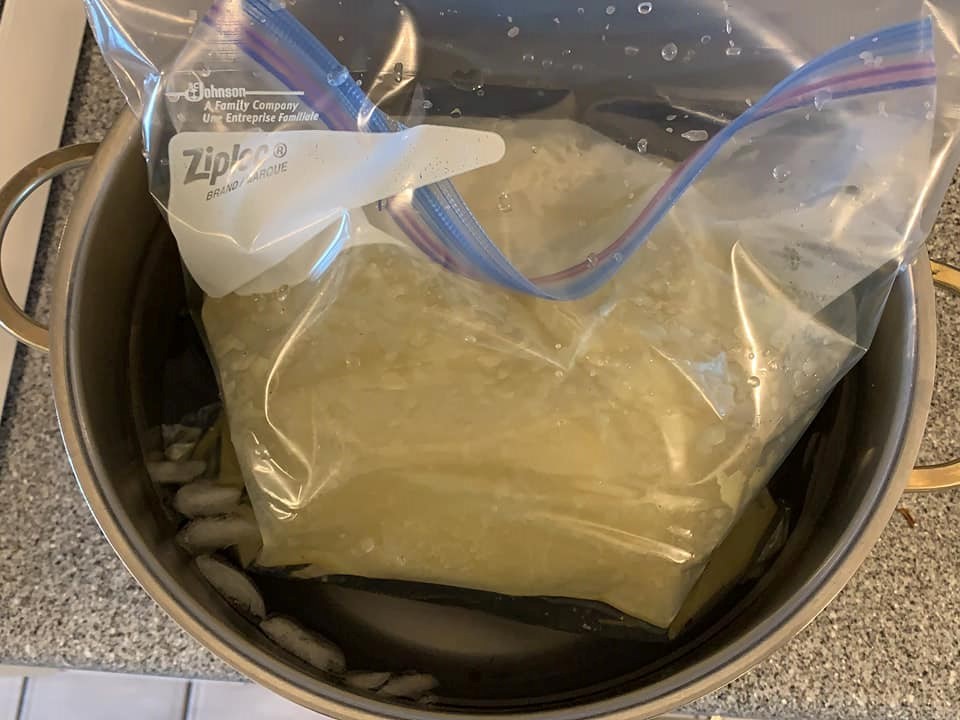
Summer zucchini is around the corner and this is an enjoyable soup that’s quick cooking especially if you prep your veggies in advance, otherwise prep is about 5 minutes! Thank you Vito Varriale for the fine photos and tip for quick cooling soup leftovers for refrigeration.

Recipe is from 28 Days to Summer Weight Loss Challenge Recipe Manual and it’s both healthy and tasty. See below for ingredients, directions and photos!

Ingredients
1 tbsp extra virgin olive oil
3 zucchini, chopped and peeled
1/2 sweet onion, chopped (Vidalia, red onion is good here)
1/2 fennel bulb, chopped
3 cups chicken stock (low-sodium)
Salt and pepper, to taste

Directions
Heat olive oil in a large skillet or soup pot with zucchini, onion, and chopped fennel. Season with salt and pepper. Cook for about 10-15 minutes. Add stock, bring to a boil and then simmer until soft. Put everything in blender and blend. Serve immediately and enjoy!

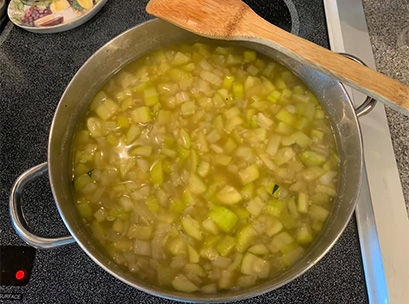
Heating soup with all ingredients.

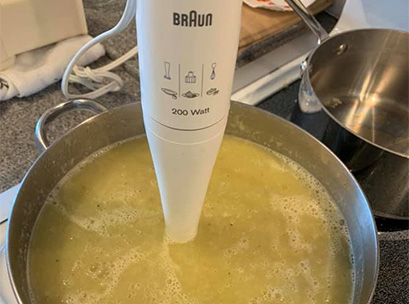
Blend until smooth, can use blender!

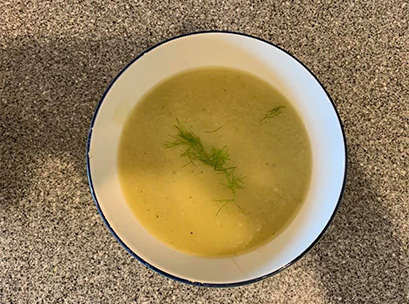
All blended, so smooth and silky.

READY TO EAT!!!

Quick cool leftovers in bag placed in pot with icy water!

Oven baked eggplant, onions and tomatoes with airfried chicken breasts

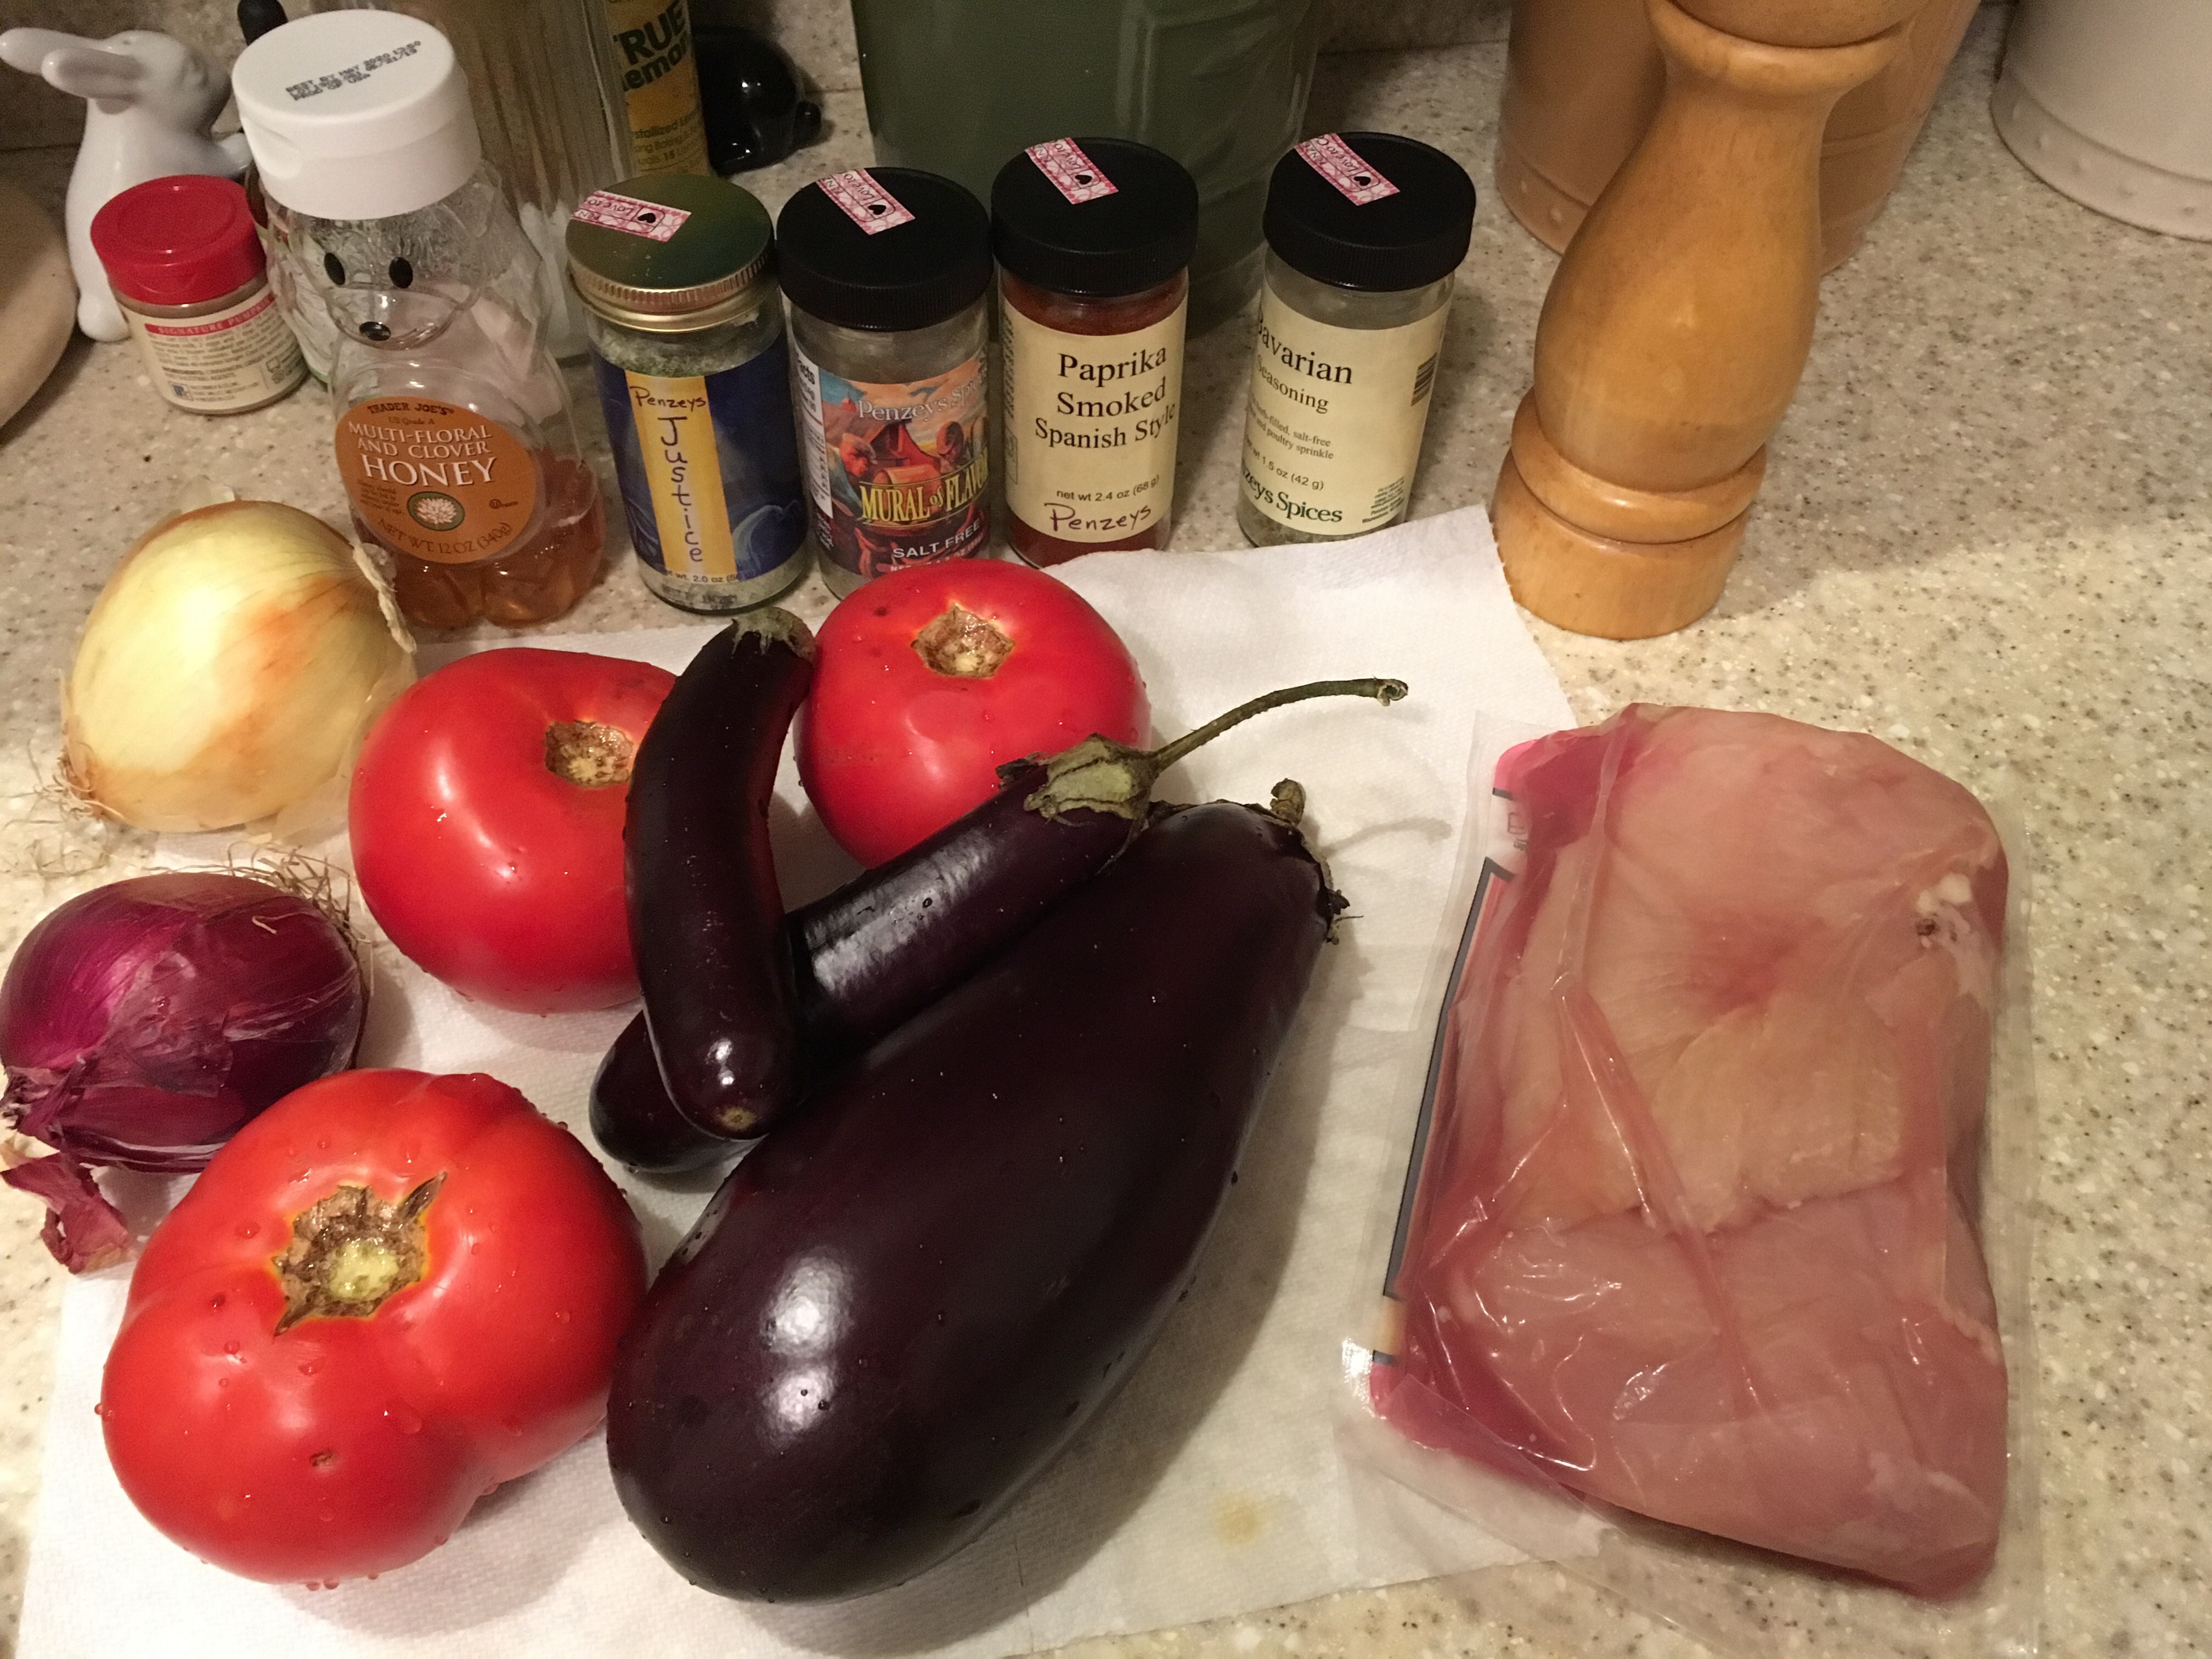
It’s a weeknight and I (Karen) have some fresh vegetables from Gazy Brothers Farm and some chicken breasts from Costco. What can I get prepped fast so I can relax before dinner?

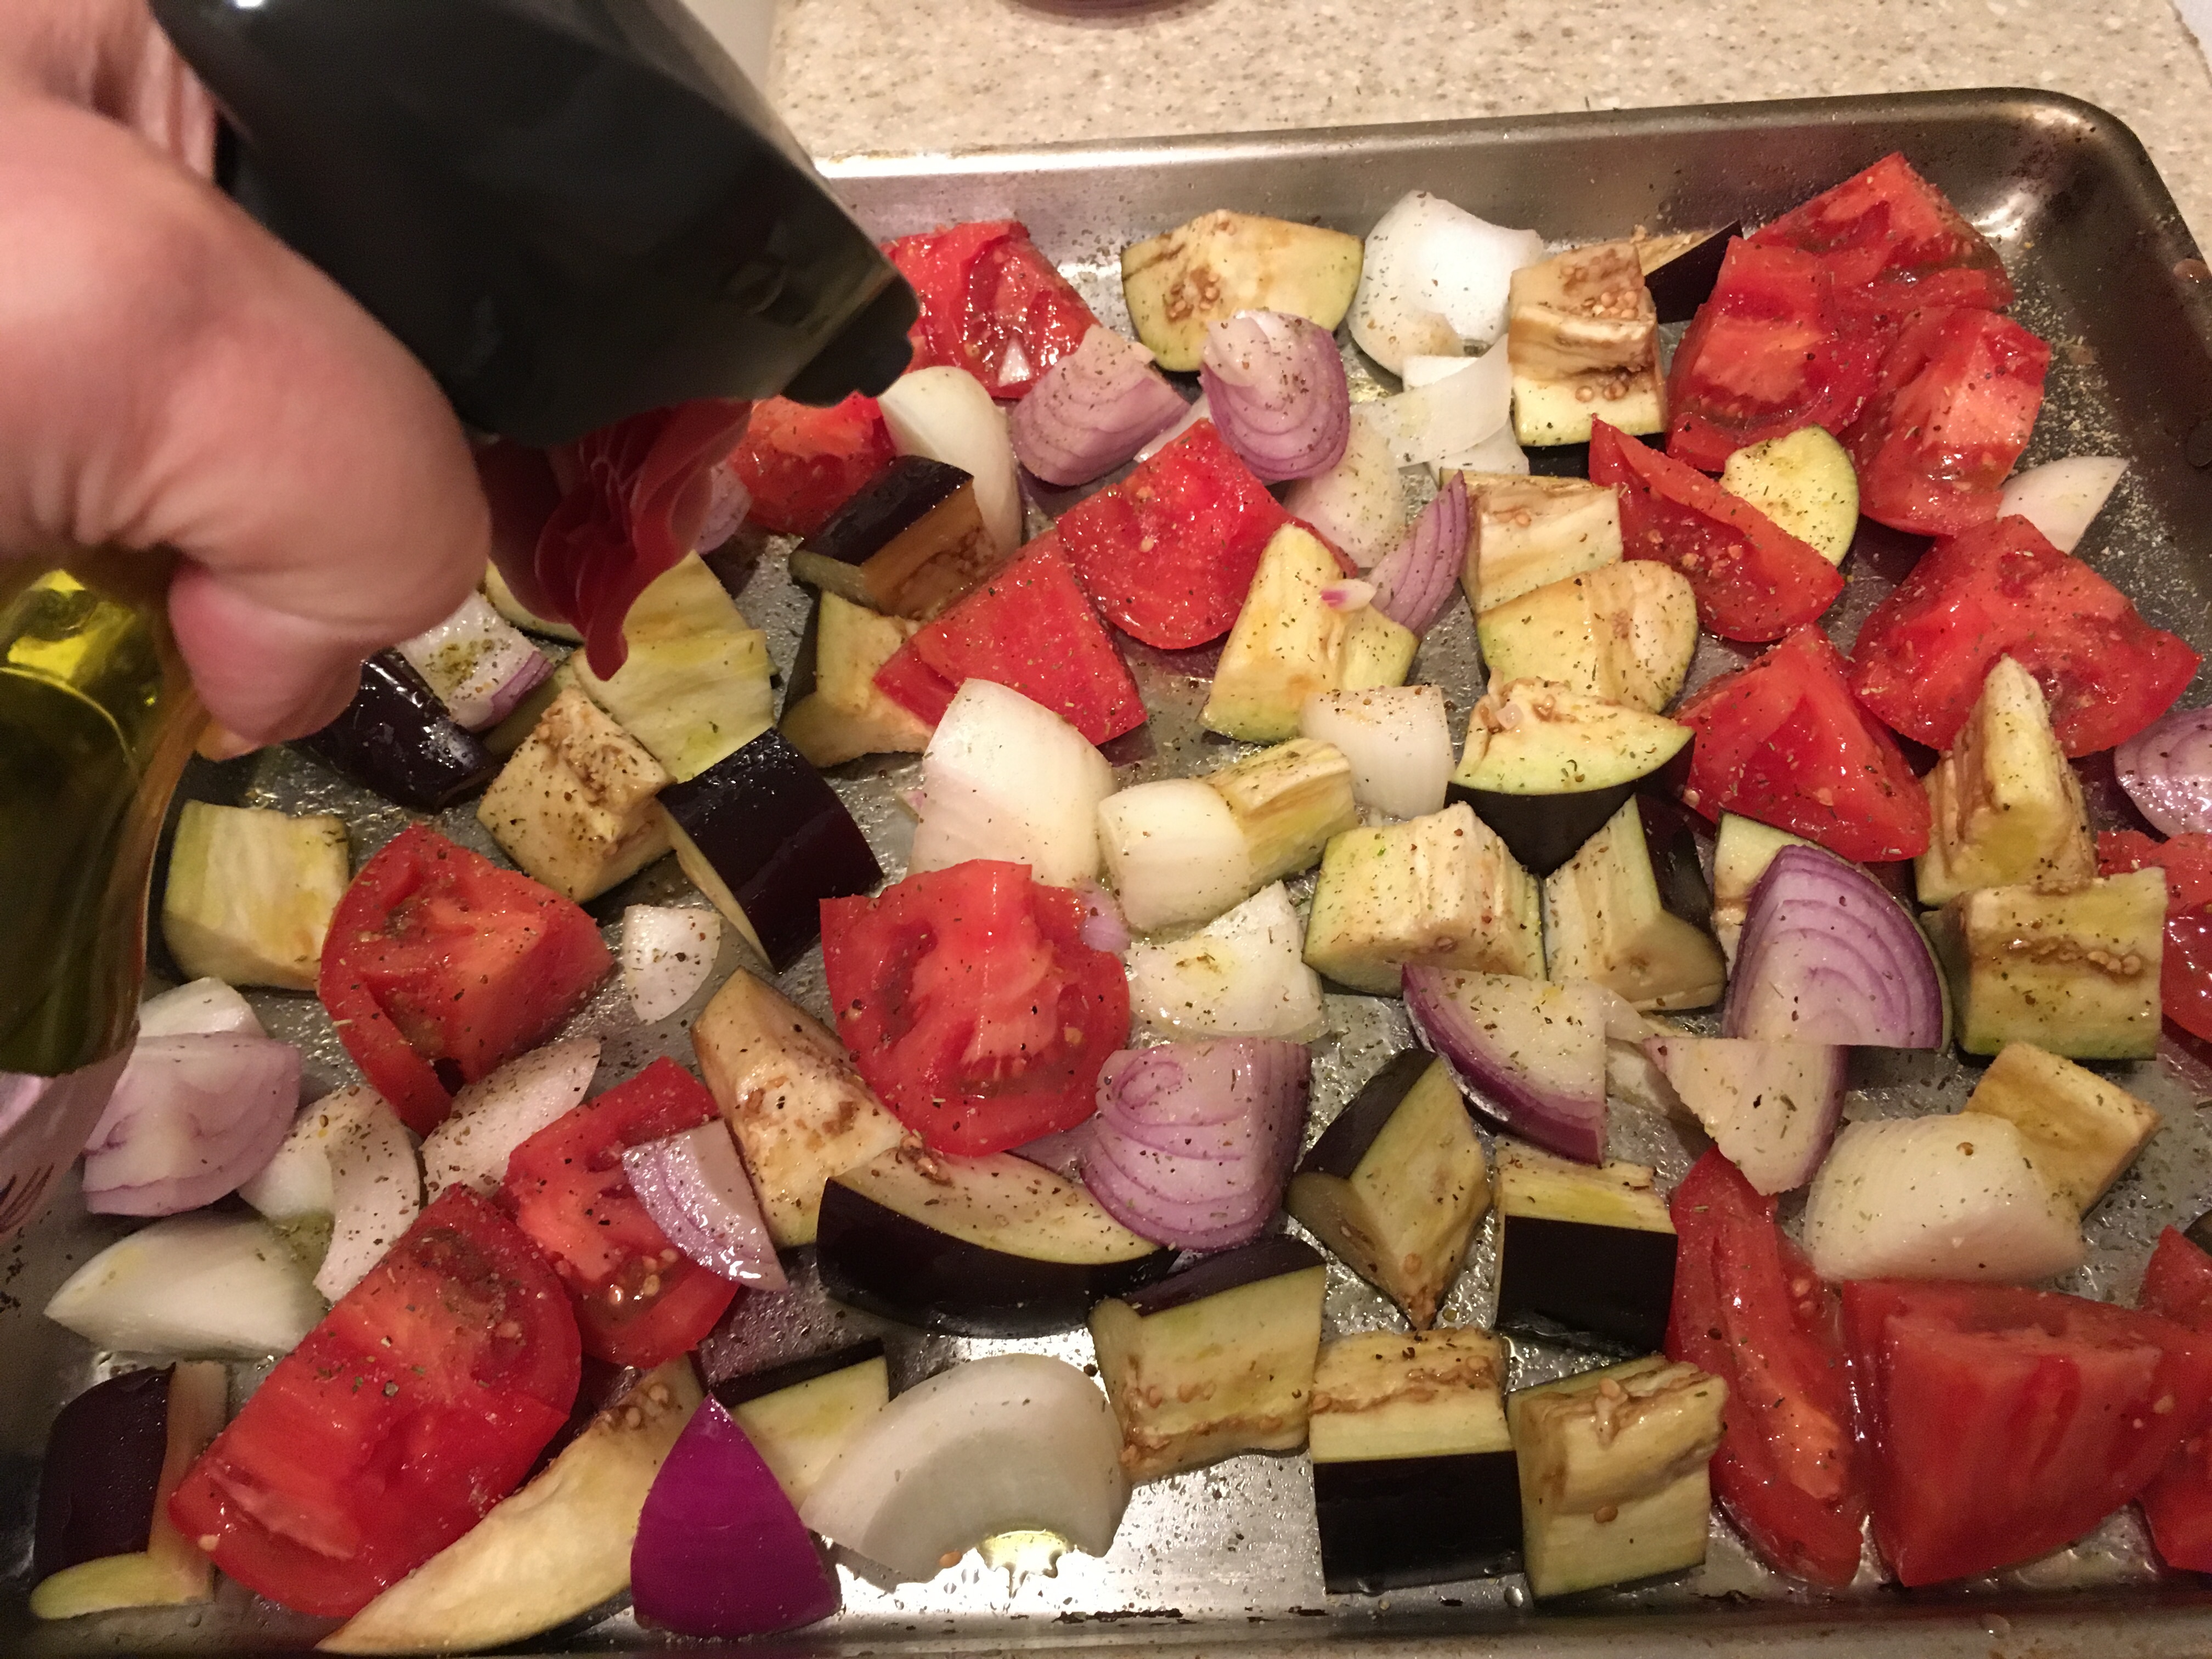
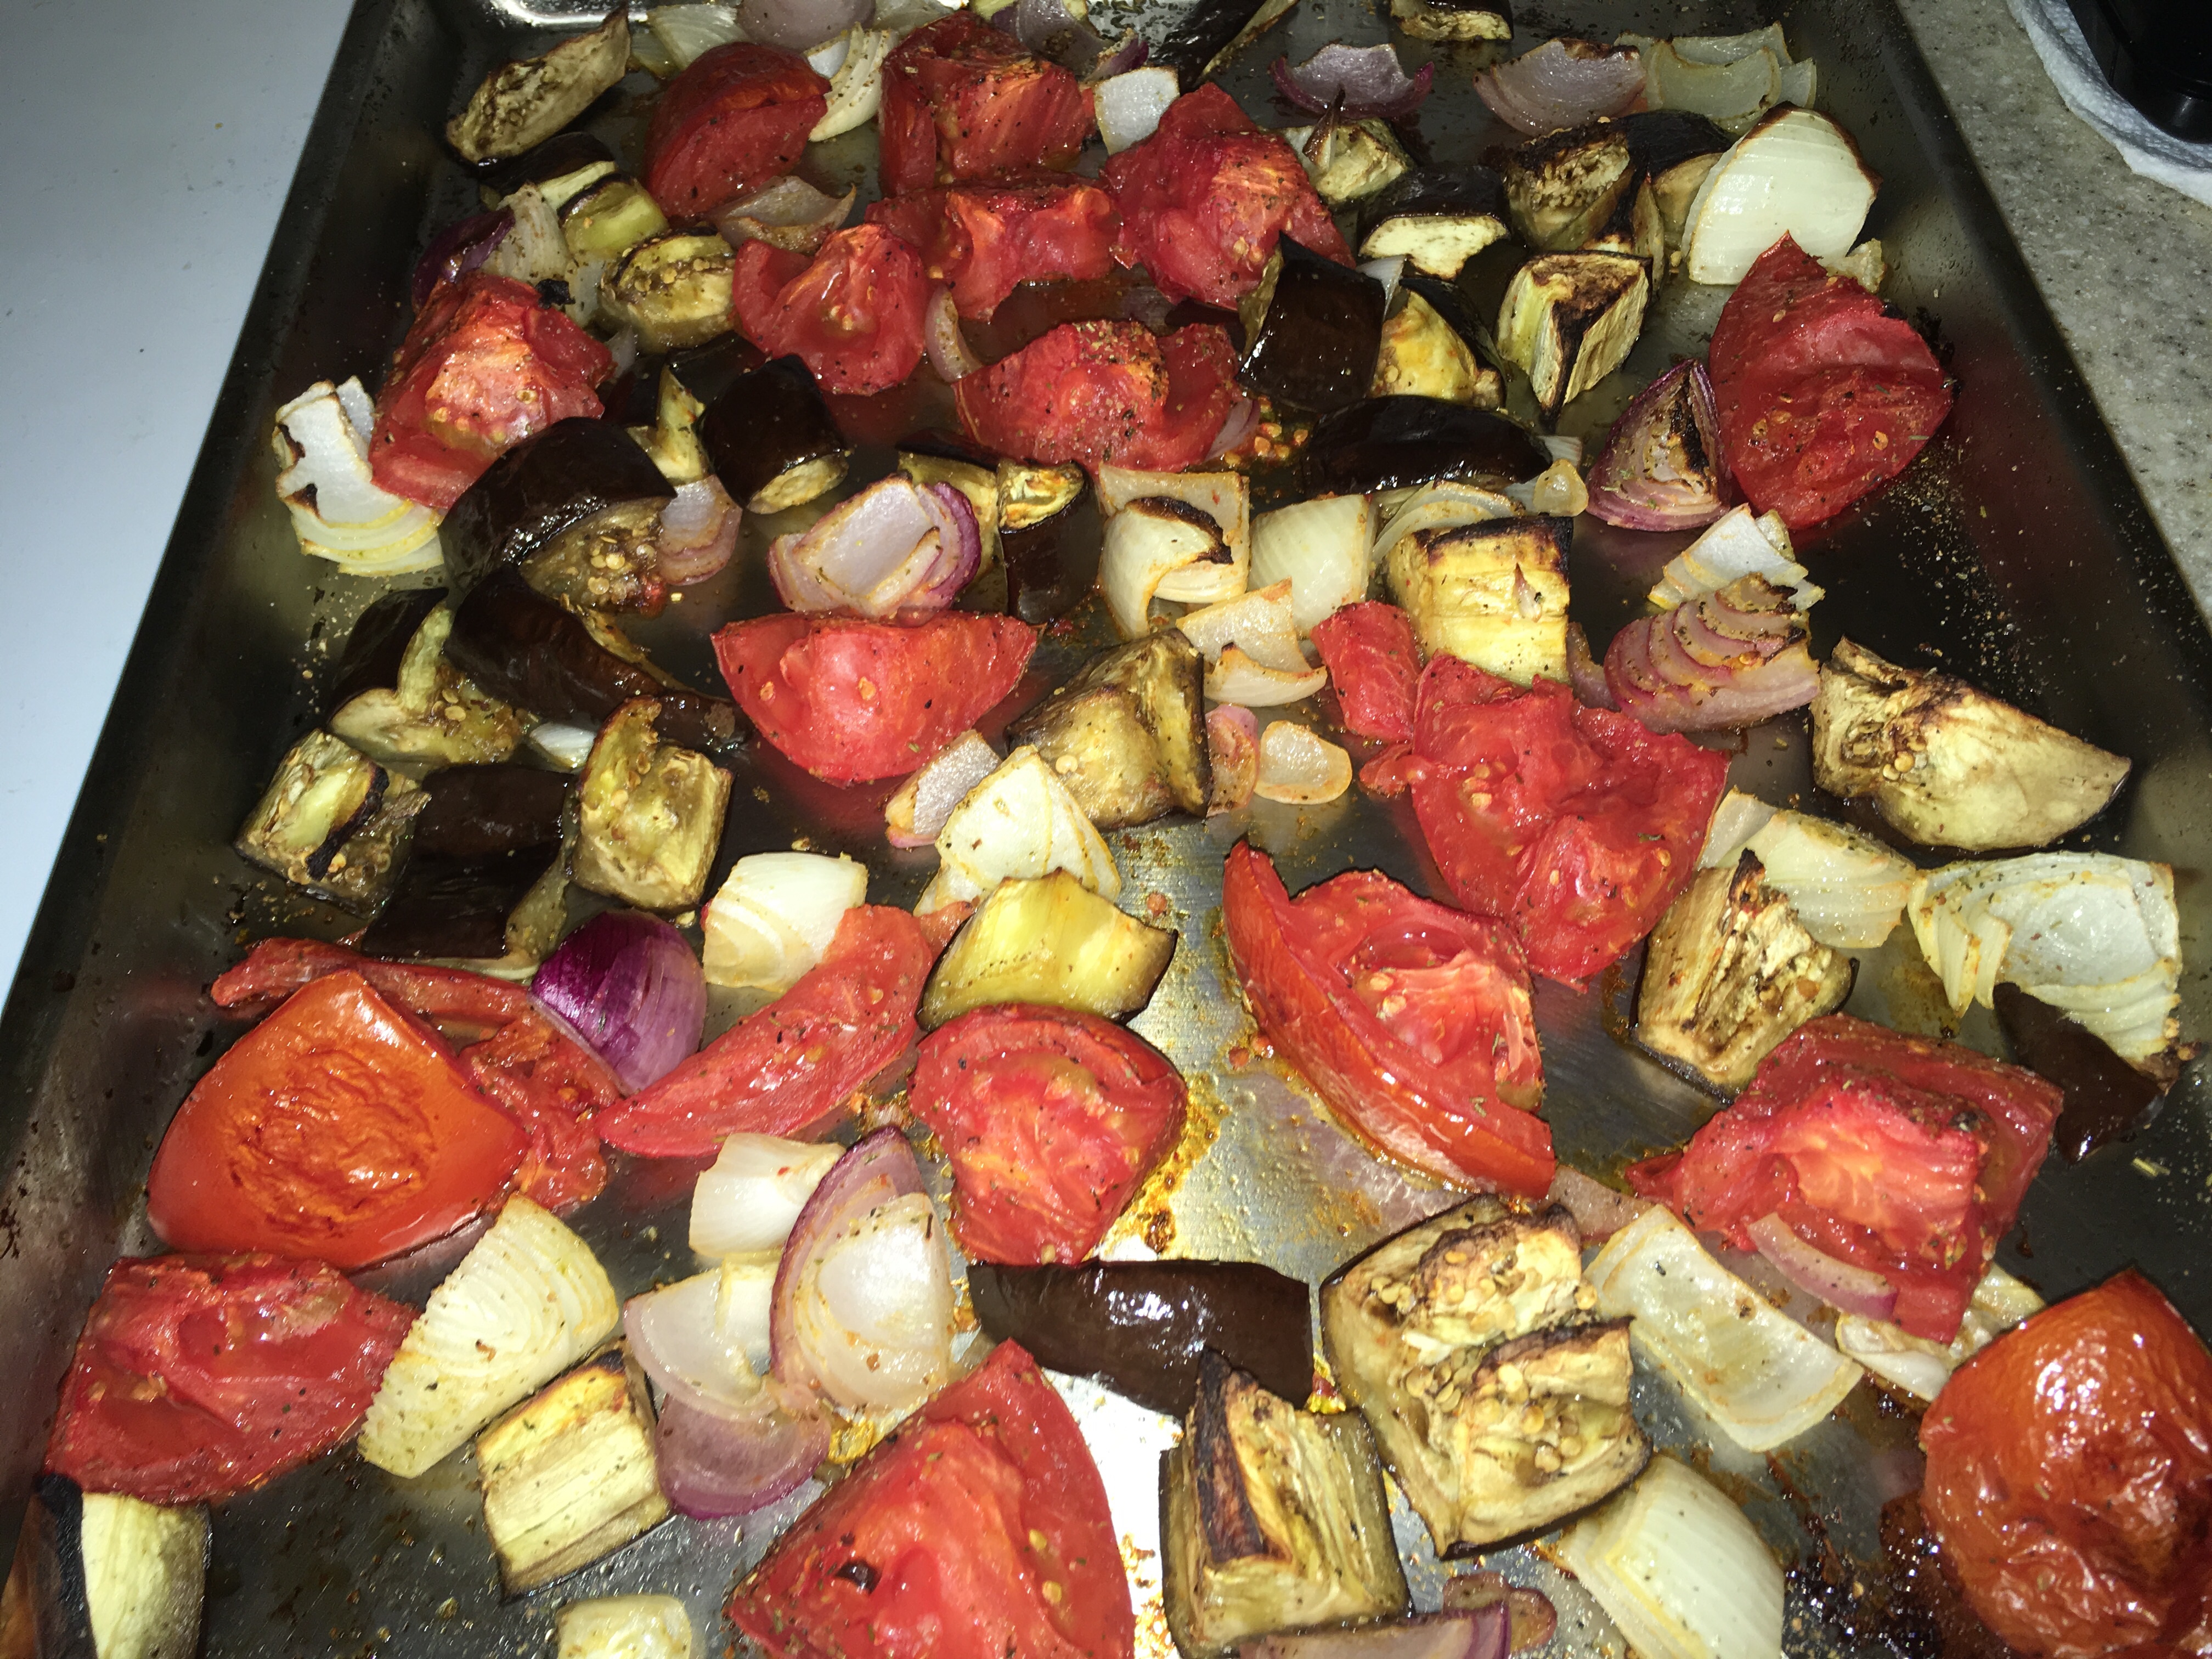
Pulled out my sheet pan, to rough chop vegetables. Toss some olive oil, herbs, salt and pepper. Bake at 350 to 400° for 30 to 40 minutes depending on thickness of vegetable chops. As it cooks, the vegetables caramelize.

Step 1 – clean veggies!

Rough chop them, coat with oil, herbs, salt and pepper.

Bake at 350 to 400 degrees for 30-40 minutes tossing once midway through. Then if you want extra charting put under broiler for 3 minutes! Watch so it doesn’t burn.

Perfection!

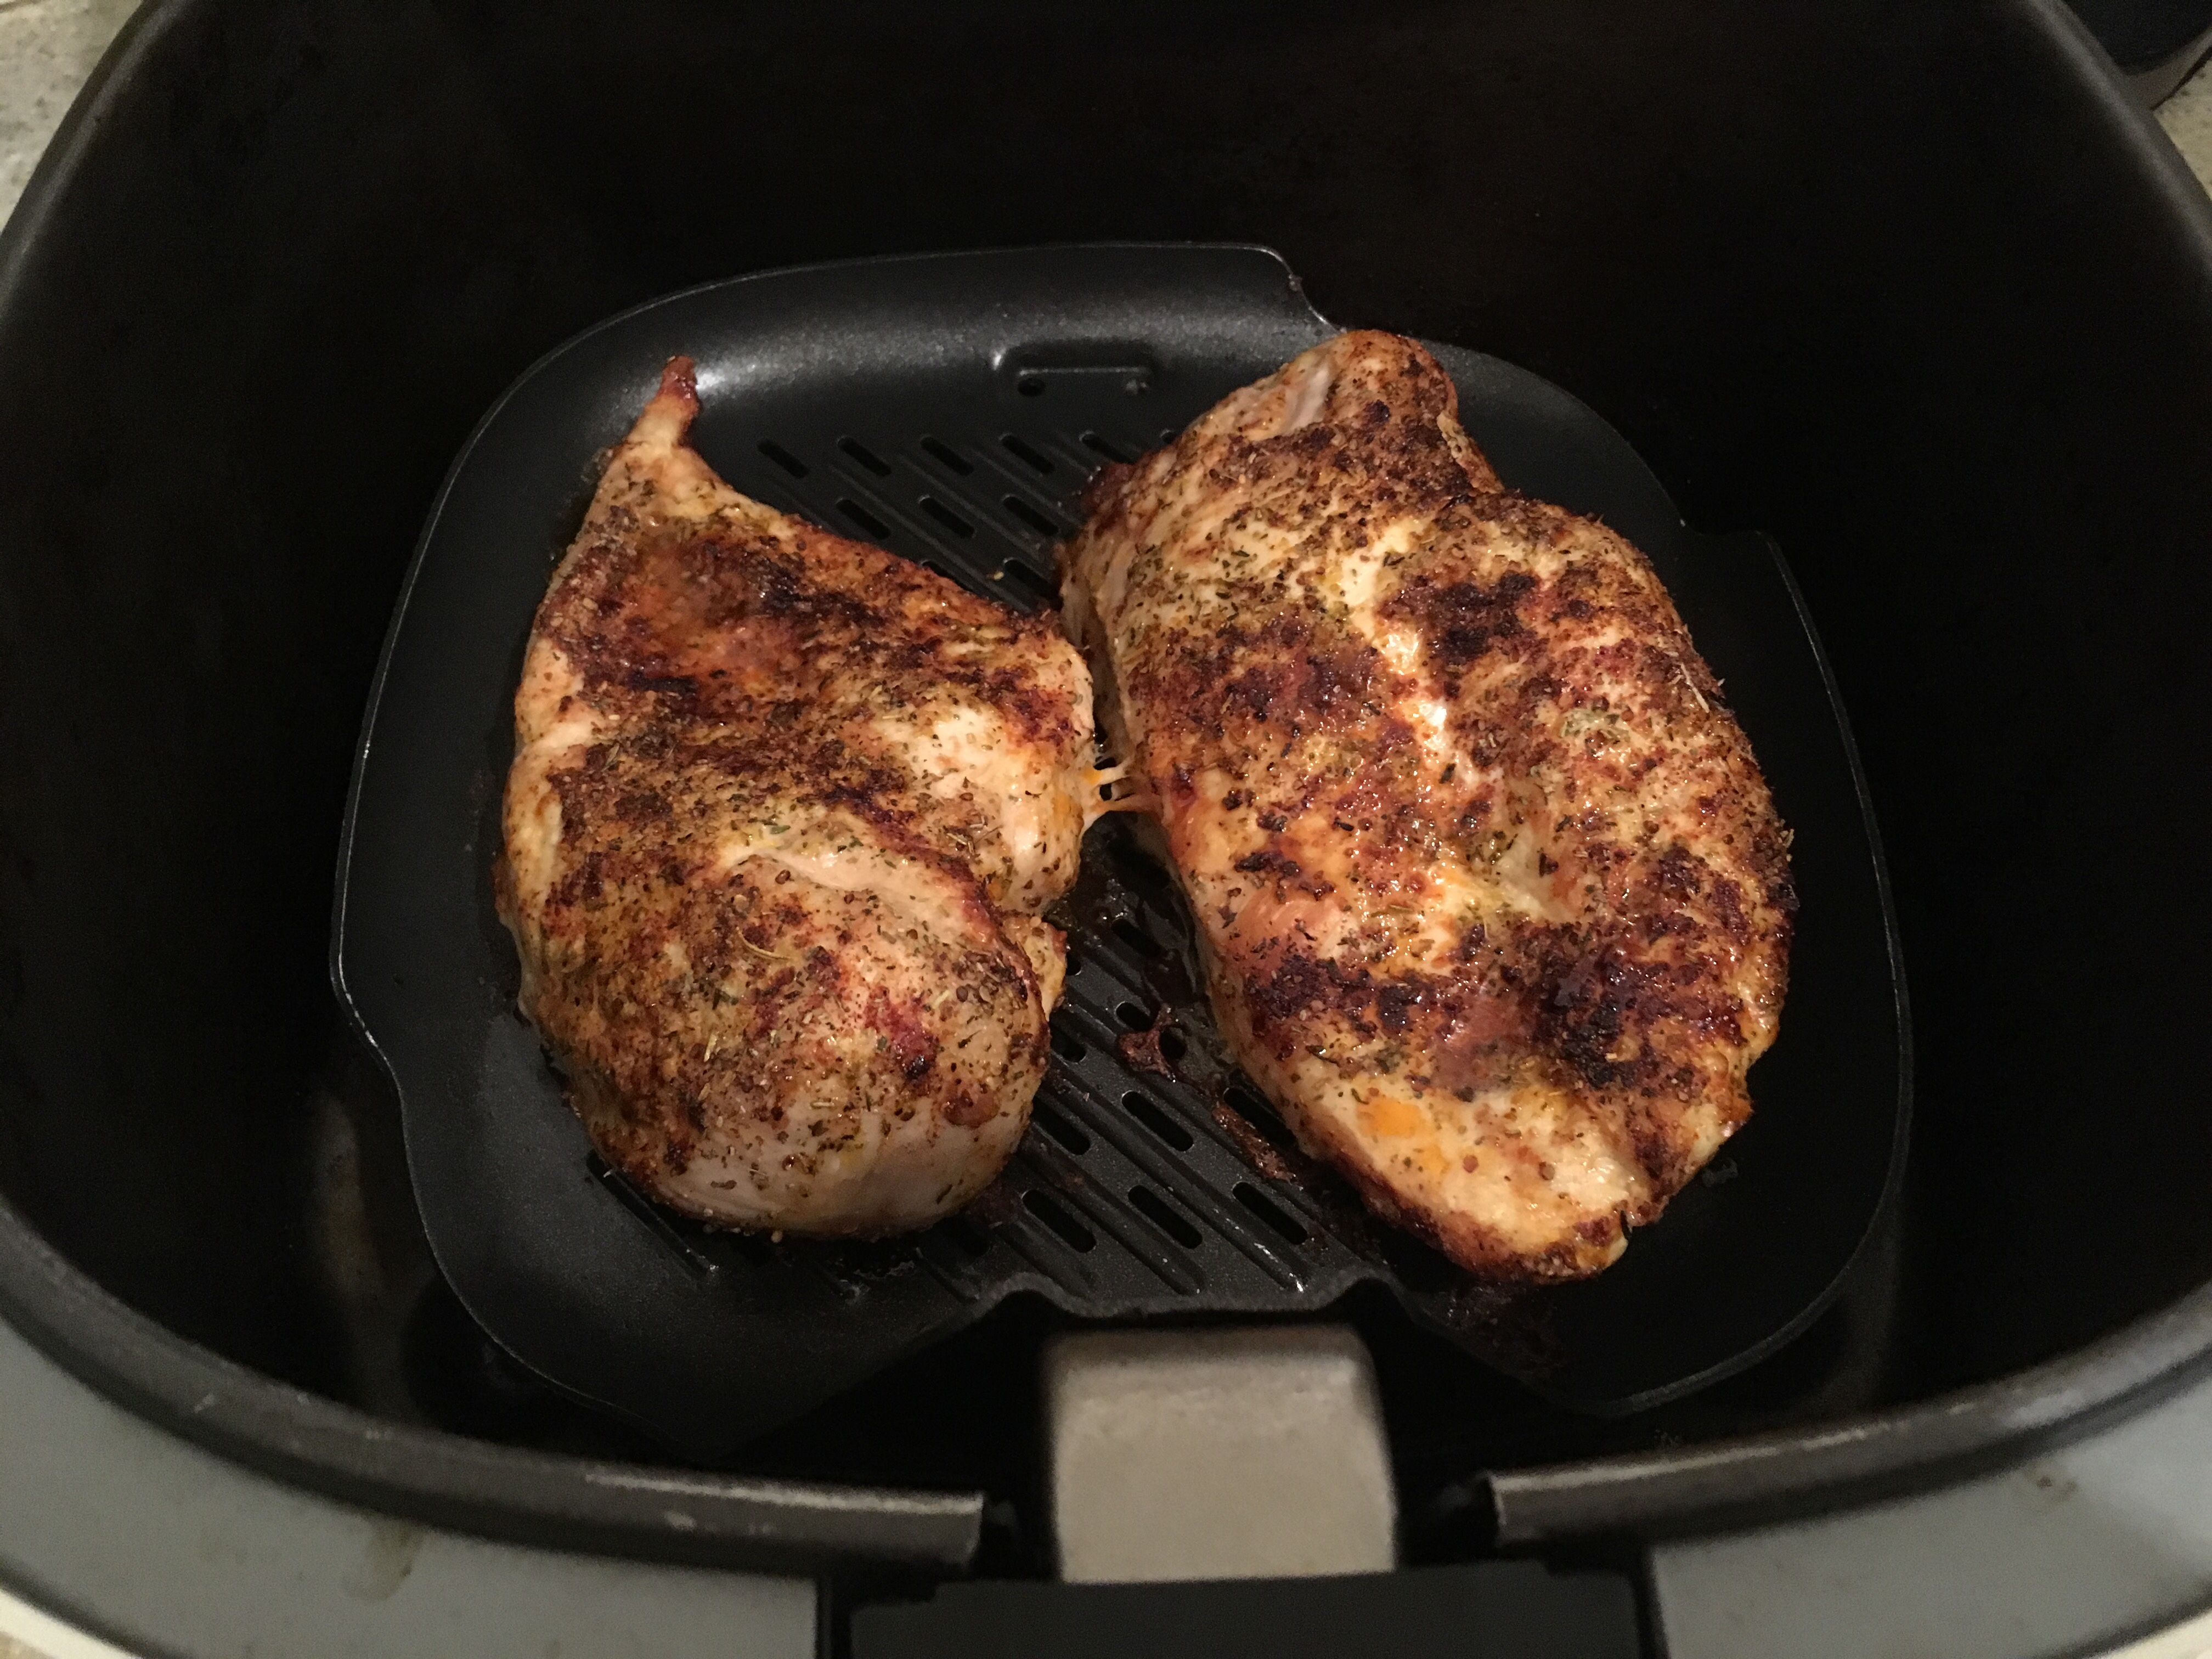
Step 2 – Chicken breasts from Costco. These are thick and they come out juicy from the airfryer when spritzed with oil, spices, salt and pepper. Don’t forget to use the smoked paprika too.

Airfry at 300 degrees for 8 minutes and then at 360 degrees for another 8 minutes. Perfection!

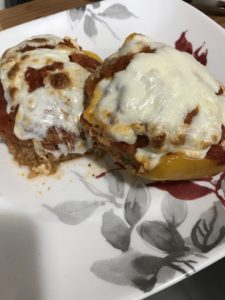
Stuffed Peppers with Rice

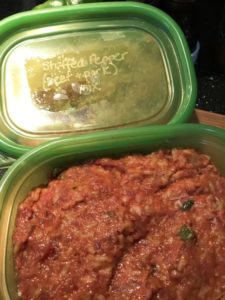
IMG_3627

This is one of my favorite go to make ahead meal recipes.  It’s easy, versatile, and delicious. You can make with the ground meat blend of your choice.  I’ve made it as a vegetarian dish by adding sauteed chard and spinach instead of meat.  You can use this stuffing with other vegetables like tomatoes or zucchini instead of peppers.  It’s fantastic as a family meal or dinner for one.  Best of all the stuffing freezes well and can easily be packed up in serving containers of your choice for an easy mid-week, healthy meal.

Ingredients:
1-4 bell peppers
1 minced jalapeno                          IMG_3601
1 chopped banana pepper
1 chopped onion
Calabrian or cherry peppers in oil – to taste
2 cups cooked rice or 1 package ready rice
2 1/2 cups of tomato sauce, divided
1/2 cup Parmesan cheese grated
1/2 cup mozzarella cheese
1 egg lightly beaten
1 pound of ground beef, pork or turkey – any combo

Preheat oven to 375 degrees.

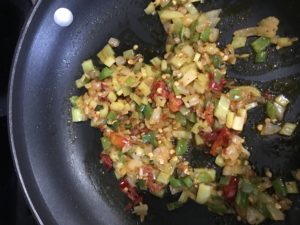
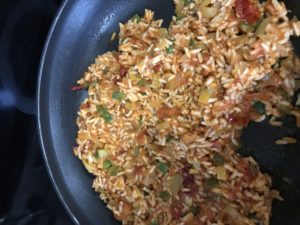
Saute onions and peppers in oil from the hot peppers 5 minutes – till light golden brown. Season with salt, pepper and chili flakes.  Turn off heat and add cooked rice along with 1 cup tomato sauce to pan. Stir together and let mixture cool.

 IMG_3604IMG_3607

Mix ground meat, beaten egg, and rice mixture and combine.  Add Parmesan cheese and stir till blended.

IMG_3609IMG_3610IMG_3612


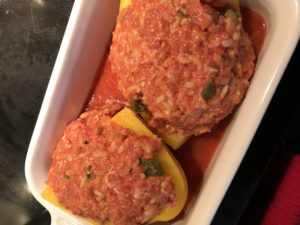
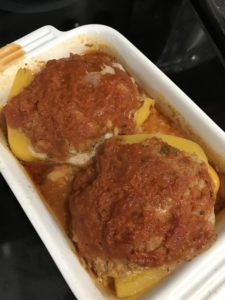
IMG_3617Cut bell peppers in half lengthwise, discard seeds membranes and stem.   Cover the bottom of a glass or ceramic baking dish with sauce.  Fill each pepper half with 1/2 cup of the meat mixture and place in dish. Cover each pepper with sauce.  Cover and bake for 45 minutes.


IMG_3620


While peppers are baking portion out any remaining meat mixture into freezable containers.  I usually make batches of about 1 cup of meat mix (enough for 1 pepper). Pack, label and freeze.


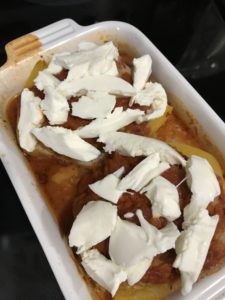
Uncover baking dish and add small pieces of mozzarella to the top of each pepper half.

IMG_3621IMG_3622

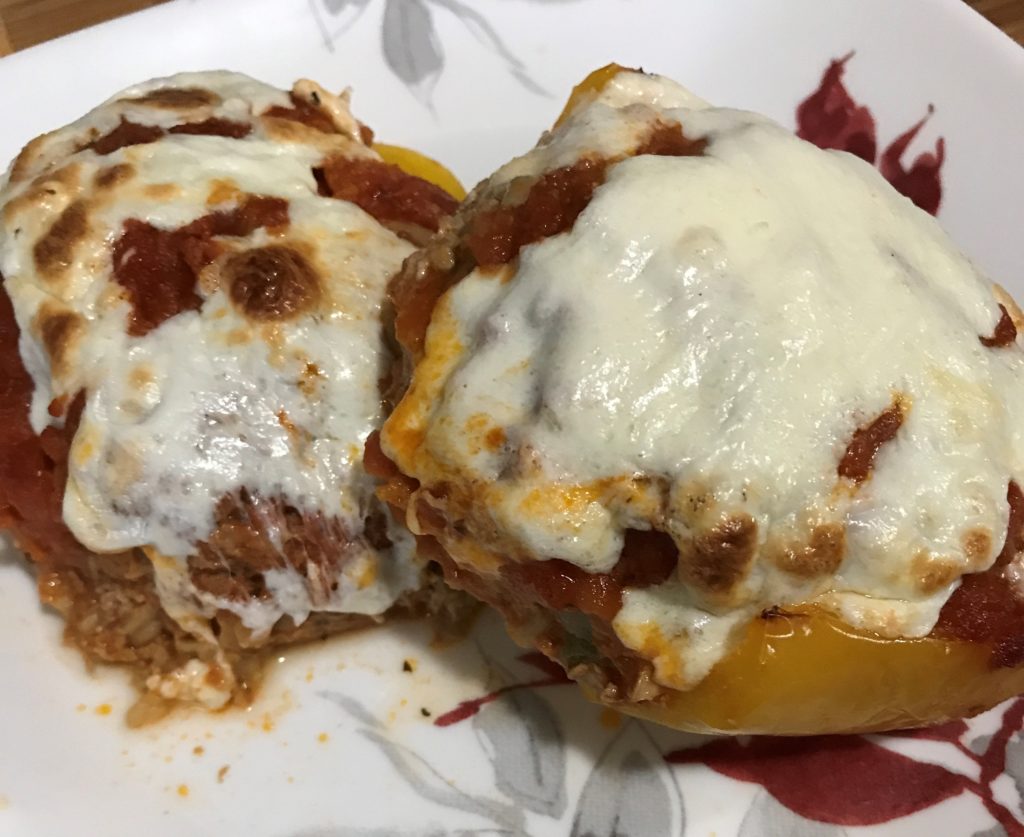
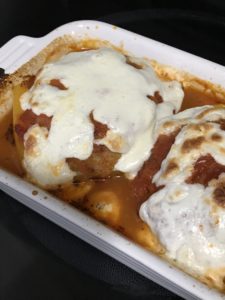
Bake uncovered 5 minutes or until cheese is melted and slightly brown. Serve and enjoy!

IMG_3623IMG_3627

Powerhouse Rainbow Chard Sauté

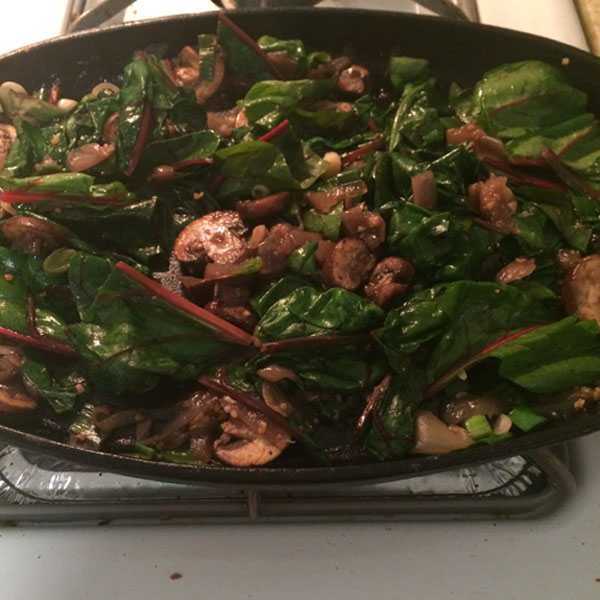
Photo 6
Powerhouse your diet – add green leafy, yellow/orange, citrus and cruciferous items to our diet.

Why? Reduced risk of chronic disease, plus they are packed with nutrition to fuel our bodies and minds.  But the most important reason is they are easy to use, quick to cook, and oh so tasty.

Also, this is a great prep ahead and cook last minute dish.

You can switch these ingredients for so many variations, whatever is fresh and strikes your fancy at the farmers market or CSA basket. Try substituting chard for beet greens, spinach, chicory, leaf lettuce, watercress, Chinese cabbage, collard greens, kale, or arugula and you’ll still get that same great powerhouse punch.

Check out these other powerhouse foods studied for their nutrient density by the CDC.

Yield: 3 servings

Ingredients:
Rainbow chard, 1 bunch, chopped (~5 cups)
Onion, ½ large, chopped
Green garlic, 2 stalks, sliced in rounds
Baby Bella mushrooms, 2 cups
Salt and Pepper to taste (or ¼ teaspoon each)
Coconut oil, 1 teaspoon
Optional: Orange peel (can be added during sautéing for brightness)

Step 1: Prepare the chard by washing, spinning damp dry, and roughly chopping. Discard the toughest part of the stem; the rest softens a bit in cooking, but some prefer to remove the stem entirely.

Photo 3

Step 2: Chop onion half, slice mushrooms, and slice green garlic stalks into rounds. (We include the green tops of the stalks – yummy.) If you are preparing more items, you could hold ingredients at this step until a few minutes before eating for best flavor.
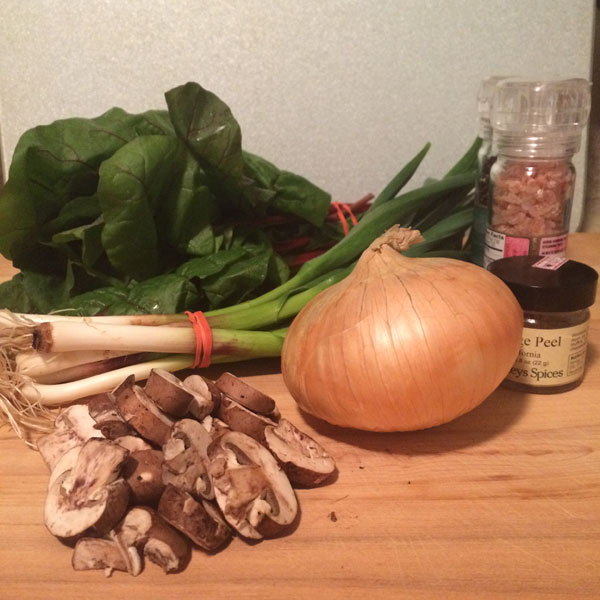
Photo 1

Step 3: Sauté onion, garlic, and mushroom in oil for 5 minutes to soften.

Photo 2

Step 4: Pile on the chopped chard and sauté, watching and turning the chard periodically and cooking until just wilted down and tender – you want to give this a quick cook so that you retain as much nutrition and flavor as possible.

Photo 4

Step 5: Salt and pepper to taste, toss thoroughly. Eat and enjoy.

Photo 5

Serving suggestion – this makes a great breakfast or brunch dish with a poached or fried egg on top.

Nutrition Analysis
Recipe yields 3 servings. Per serving, using ¼ teaspoon salt and ¼ teaspoon black pepper: 51 calories, 8 grams carbohydrate, 2 grams dietary fiber, 2 grams total fat, 1 gram saturated fat, 3 grams protein, 503 milligrams potassium, 329 milligrams sodium, 189 micrograms vitamin A.
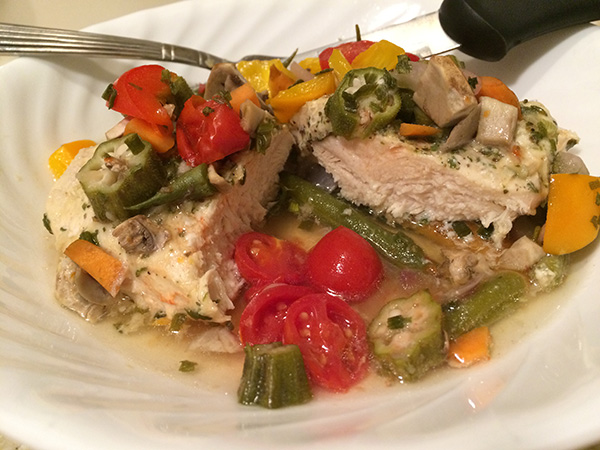
Veggie Chicken Foil Packets with Savory Broth

Foil packets are delicious, easy, plan ahead, throw on BBQ or in oven!

Flavor combinations are limitless – you pick what’s fresh and how you want your broth flavored. This variation is OKRAlicious! This recipe serves 4 but is easy to size up or down.

Chicken packet
Ingredients
4 boneless chicken breasts
1 cup cherry tomatoes, halved
1 cup okra, sliced into rounds
1 cup yellow and red peppers, chopped
1 cup green beans, chopped
2 carrots, cut length-wise in strips
1 cup onion, diced
1 cup mushrooms, chopped
4 tbsp Italian dressing
4 tbsp white wine
Minced chives
Fresh or dried herb – fresh is better if you have it
Salt and pepper to taste
Aluminum foil, 4 sheets – extra heavy is preferred

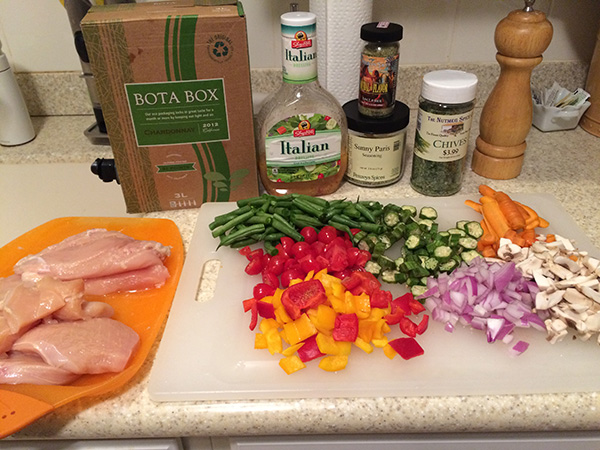
Step 1: Preheat oven to 375.
Chop vegetables and prepare foil by spraying or brushing with oil.
Step 1: Ingredients
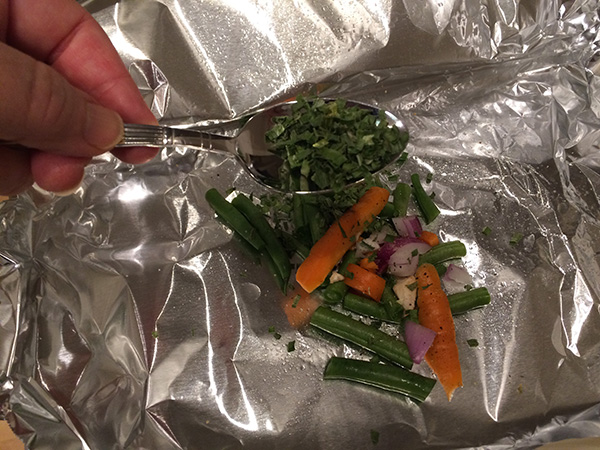
Step 2: Make the vegetable bed by adding 1/4 cup each of green beans, onions, and carrots to sprayed foil sheet. Sprinkle with chives.
Step 2
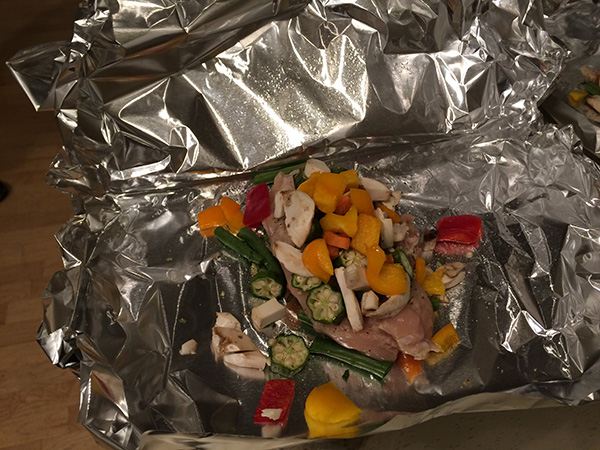
Step 3: Salt and pepper chicken and layer on top of vegetable bed. Top chicken with 1/4 cup mushrooms, peppers and okra. Sprinkle any additional fresh herbs or seasoning you enjoy now, and some more salt and pepper to top layer of veggies.
Step 3
Step 4: Drizzle each packet with 1 tablespoon Italian dressing (or whatever flavor combination you prefer, such as lemon or lime juice).
Step 4
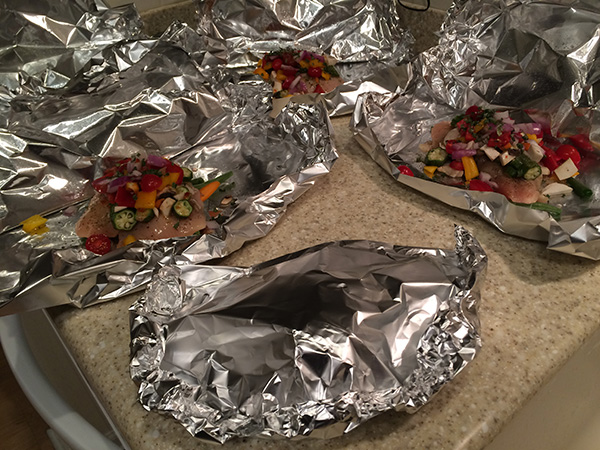
Step 5: Crimp edges together to make the foil packets.Step 5
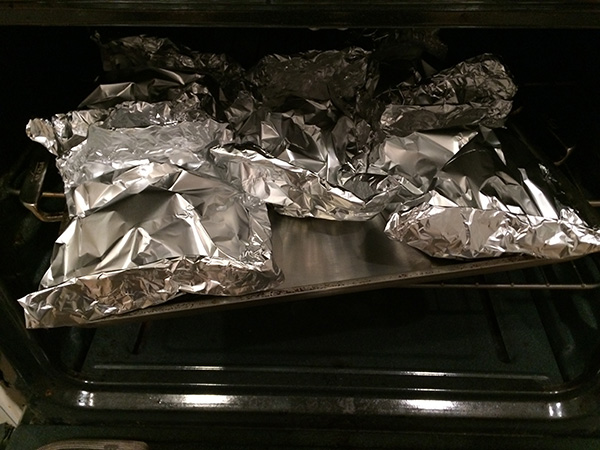
Step 6: Place packets on cooking sheet and put on center rack of preheated 375F oven.  Alternatively throw the packets on the BBQ.
Step 6
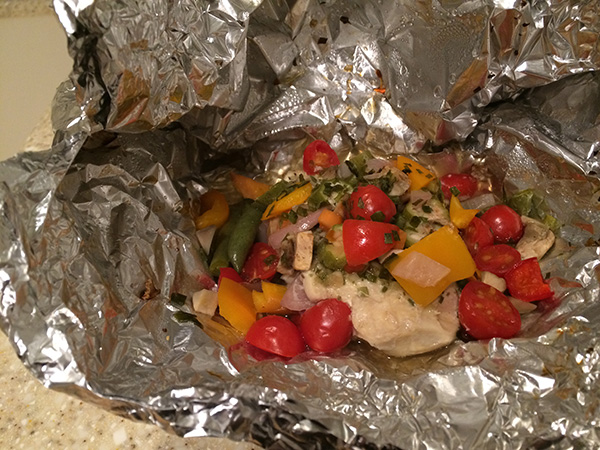
Step 7: Unwrap hot packets carefully and serve in a bowl being careful to pour all the delicious broth from the packets into your bowl – yum. Eat and enjoy!
Step 7